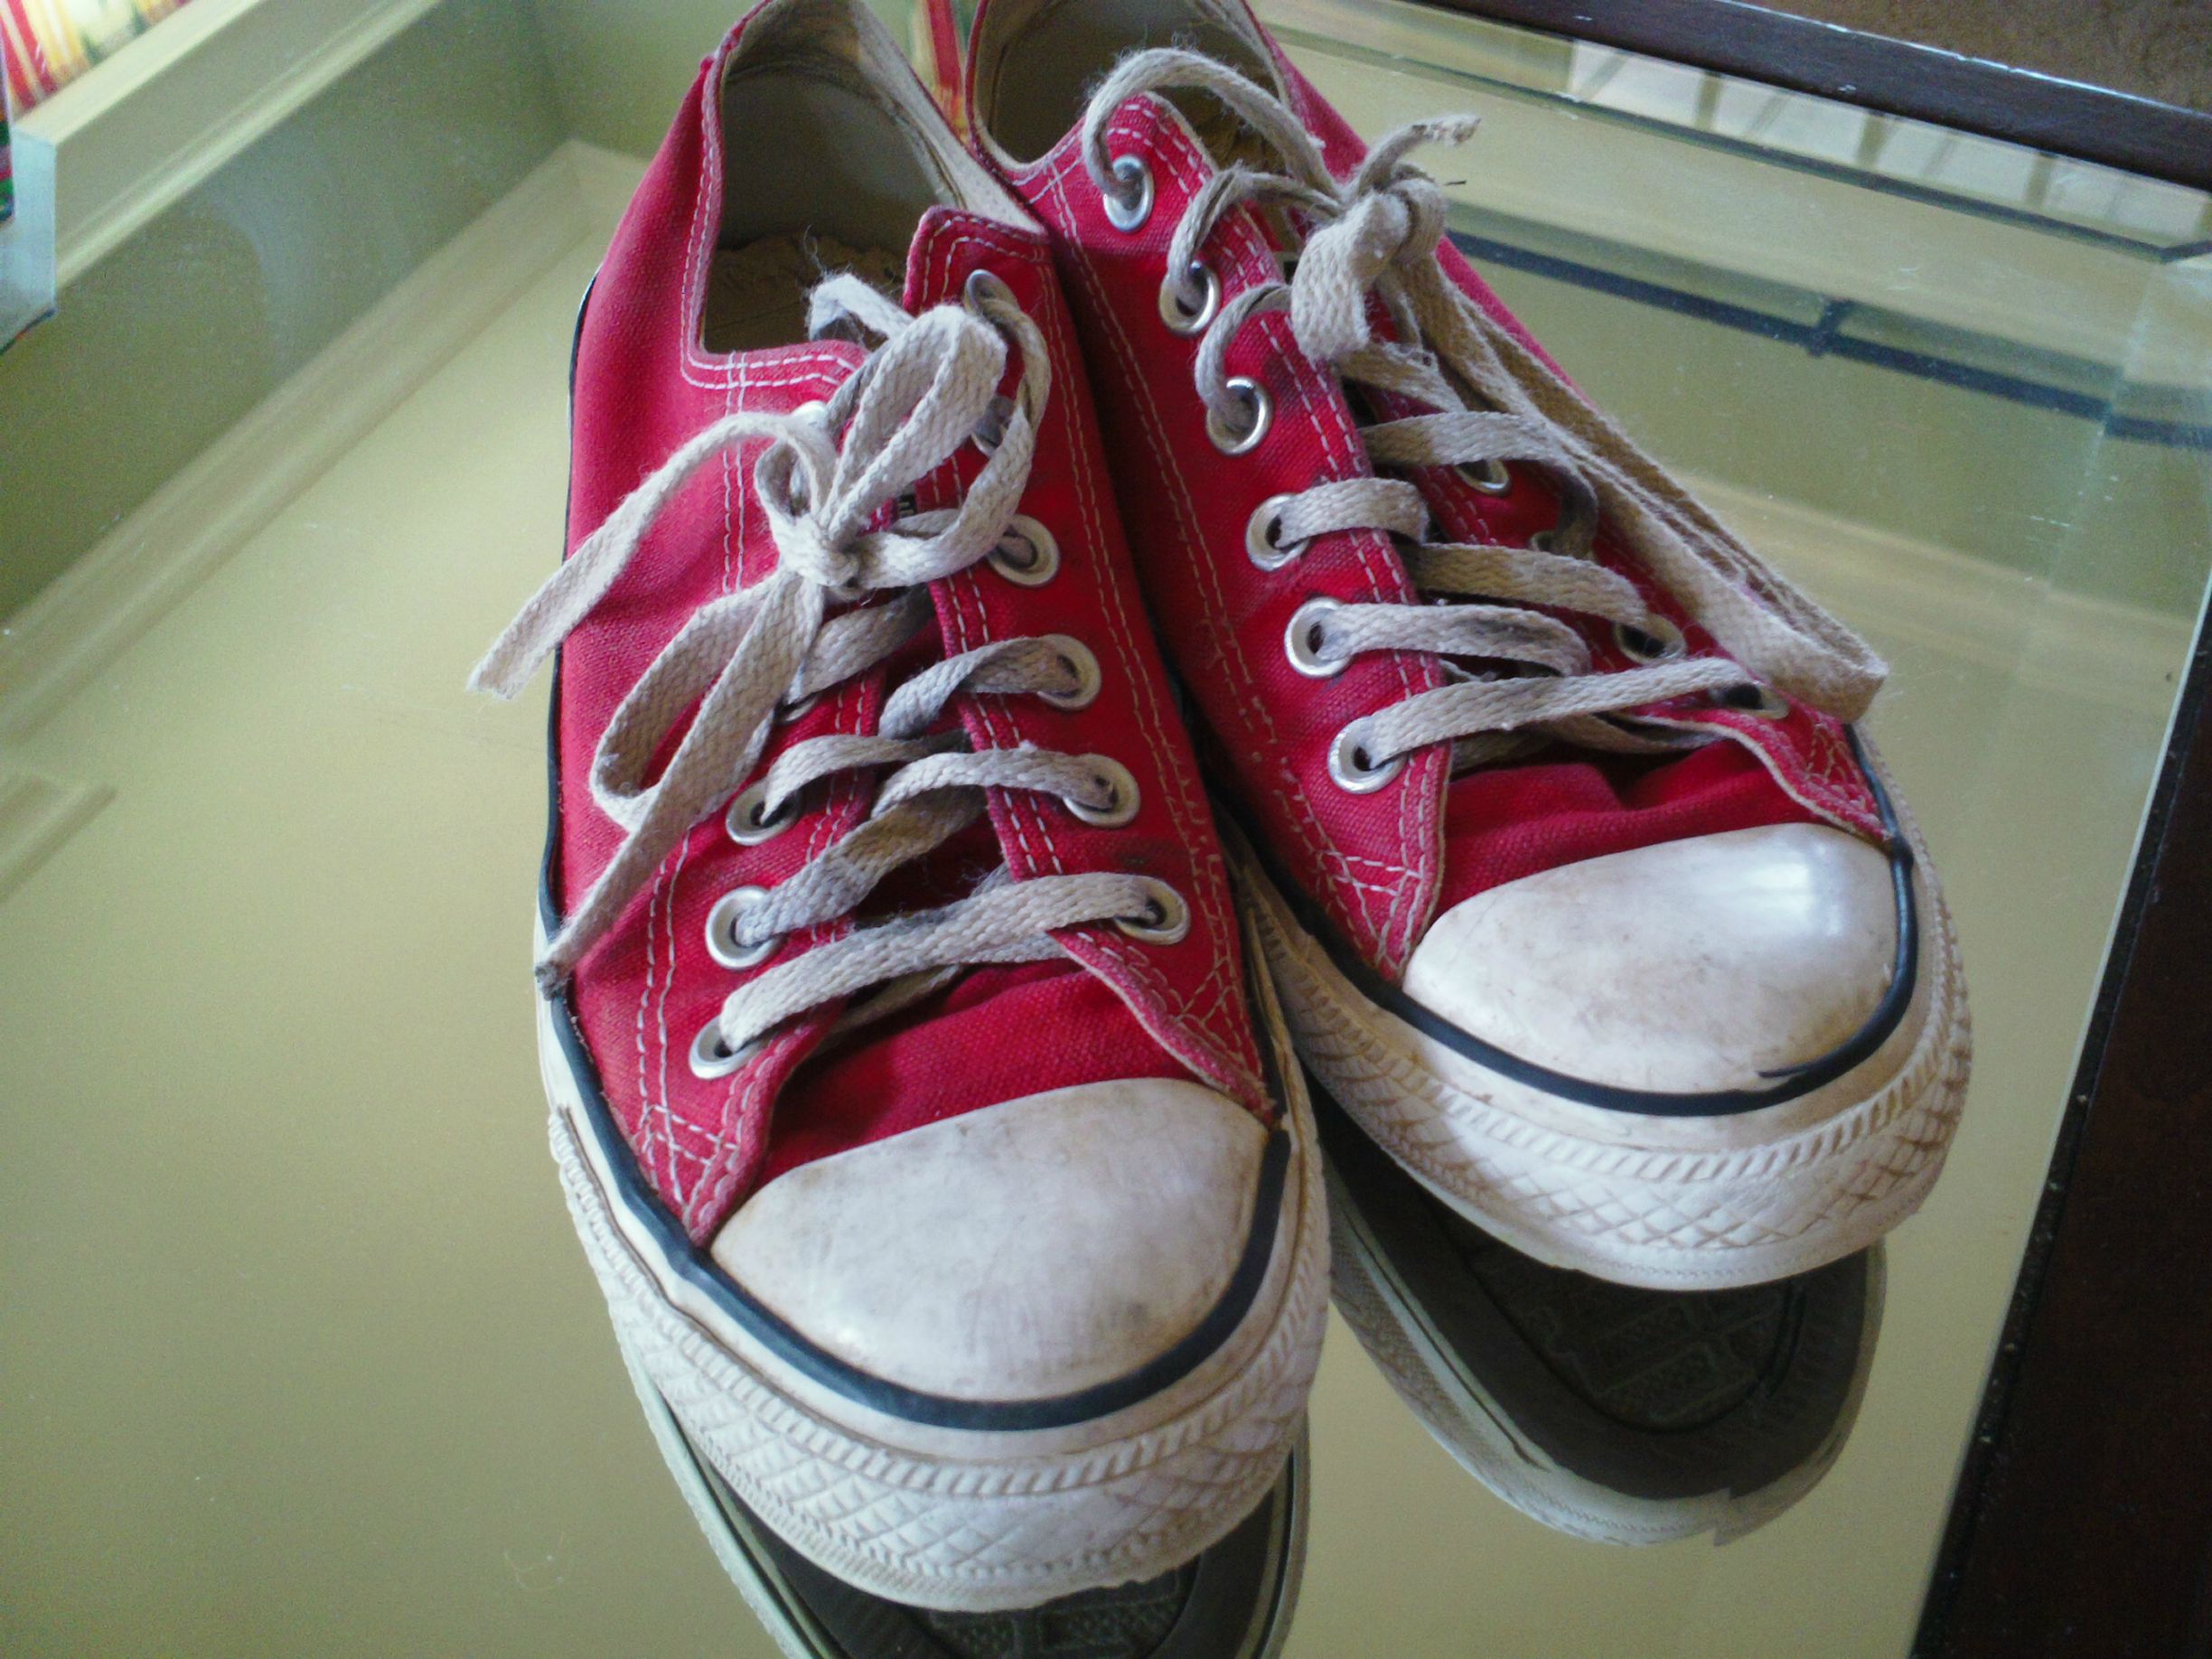
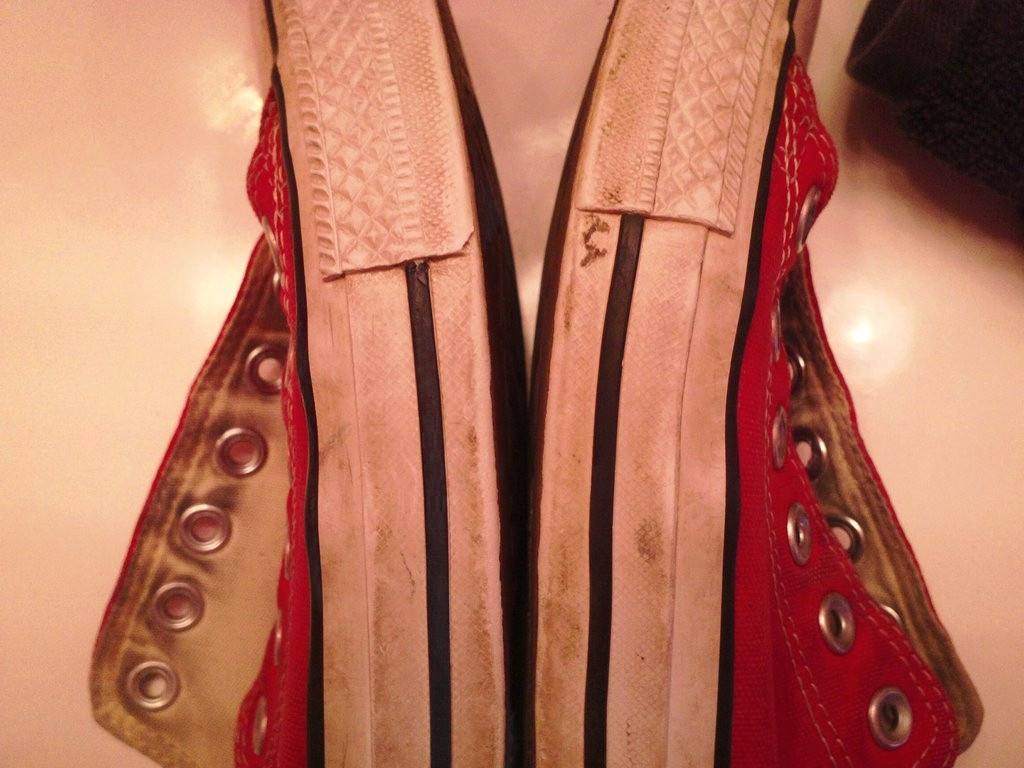
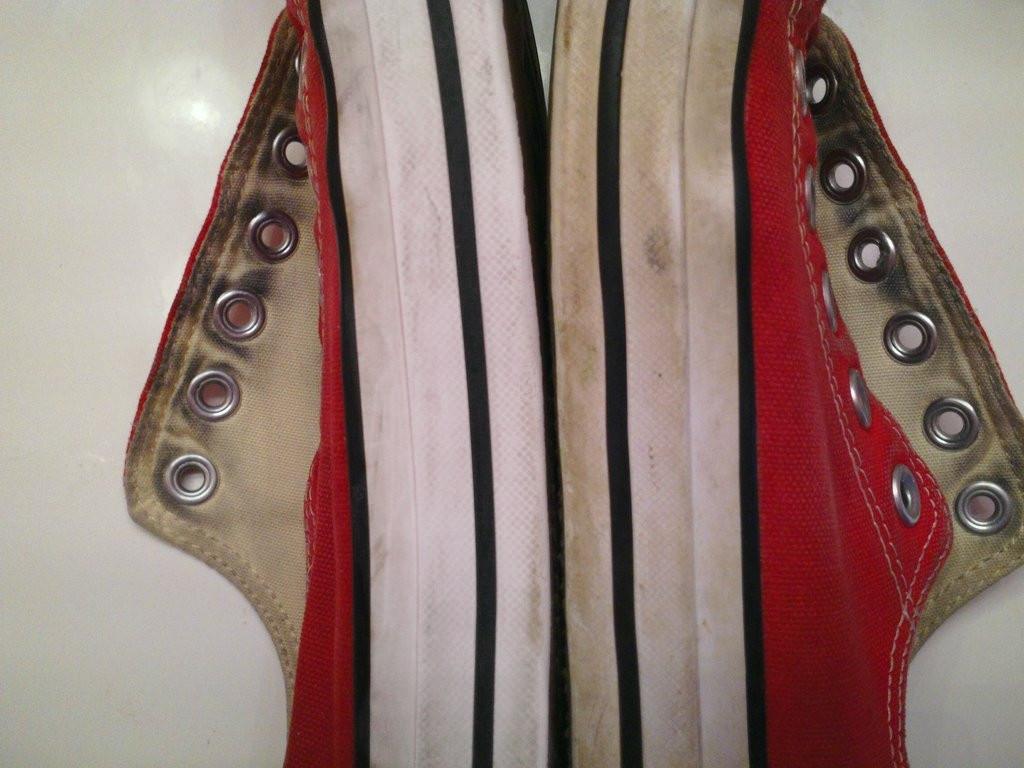
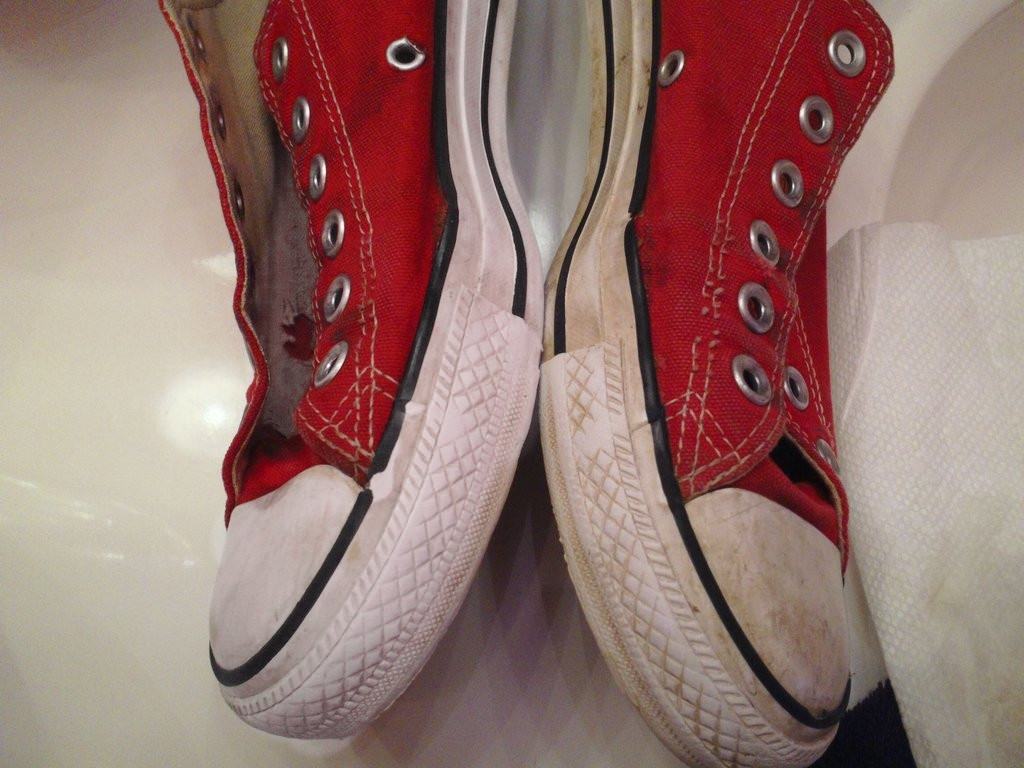
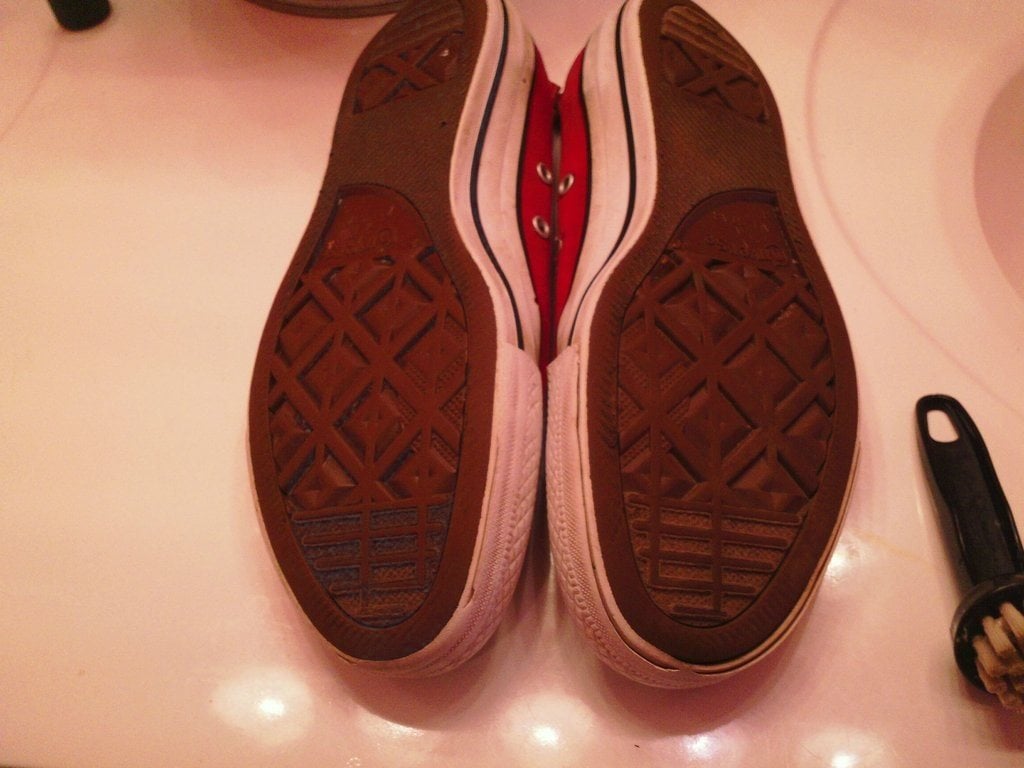
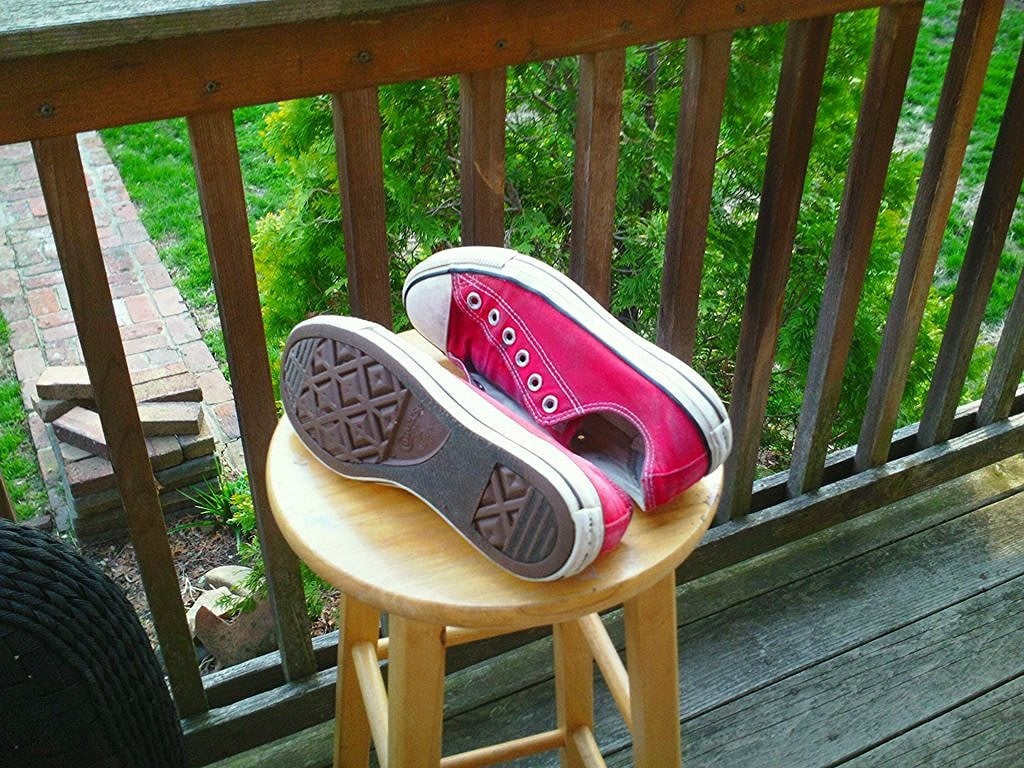
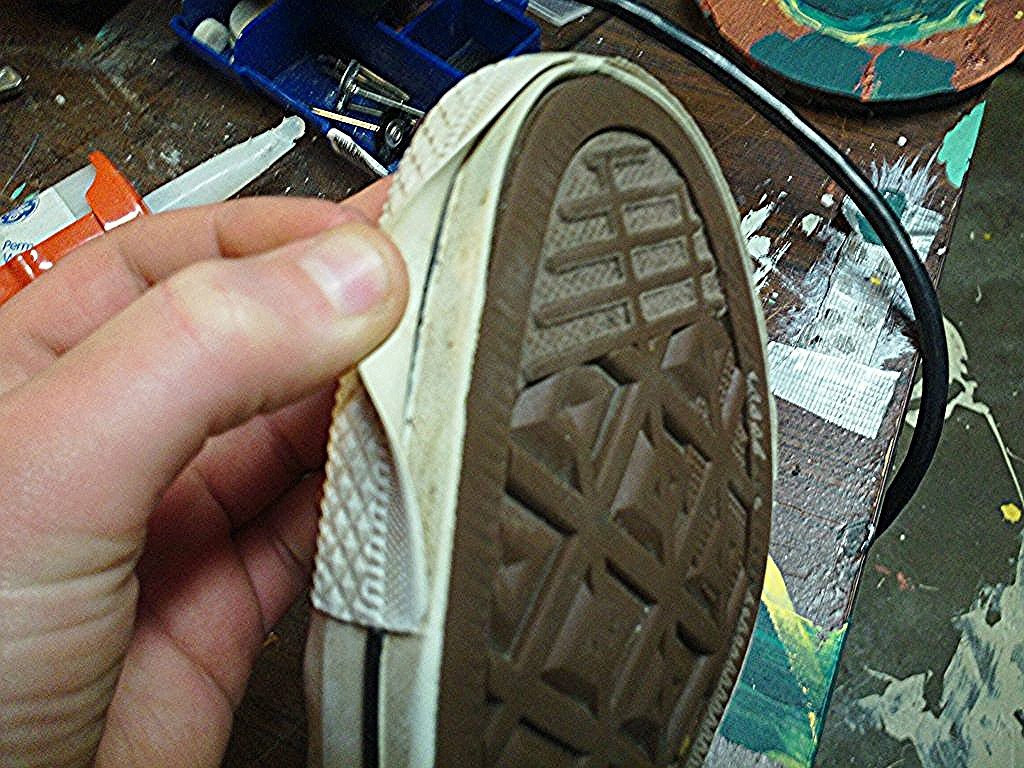
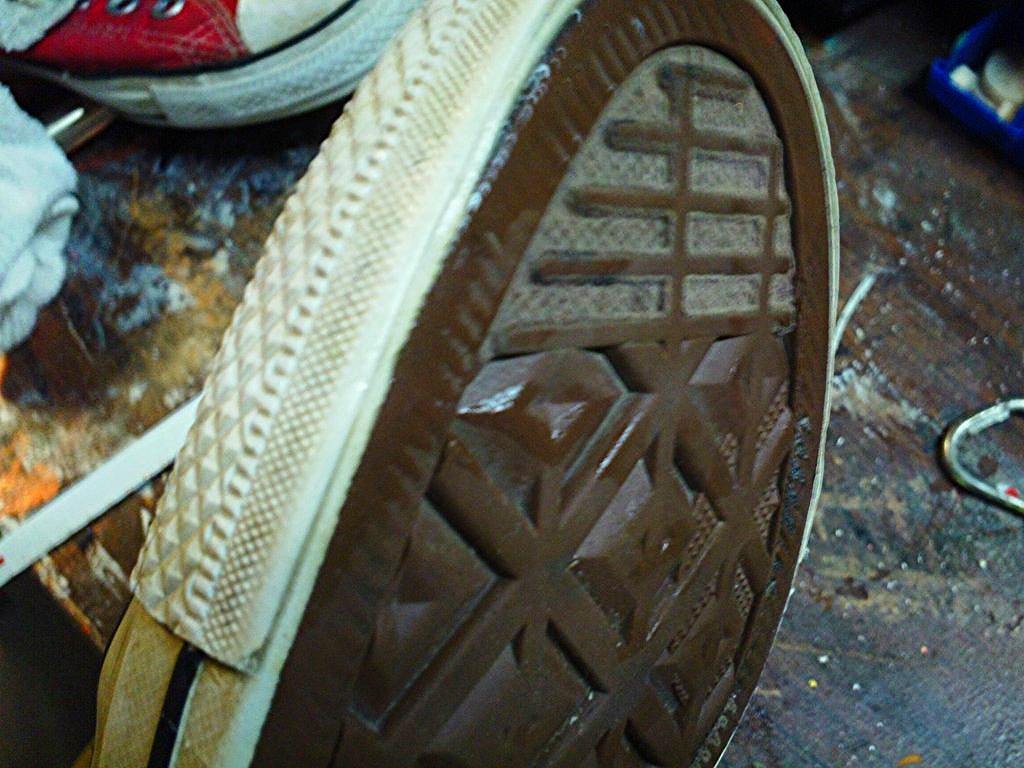
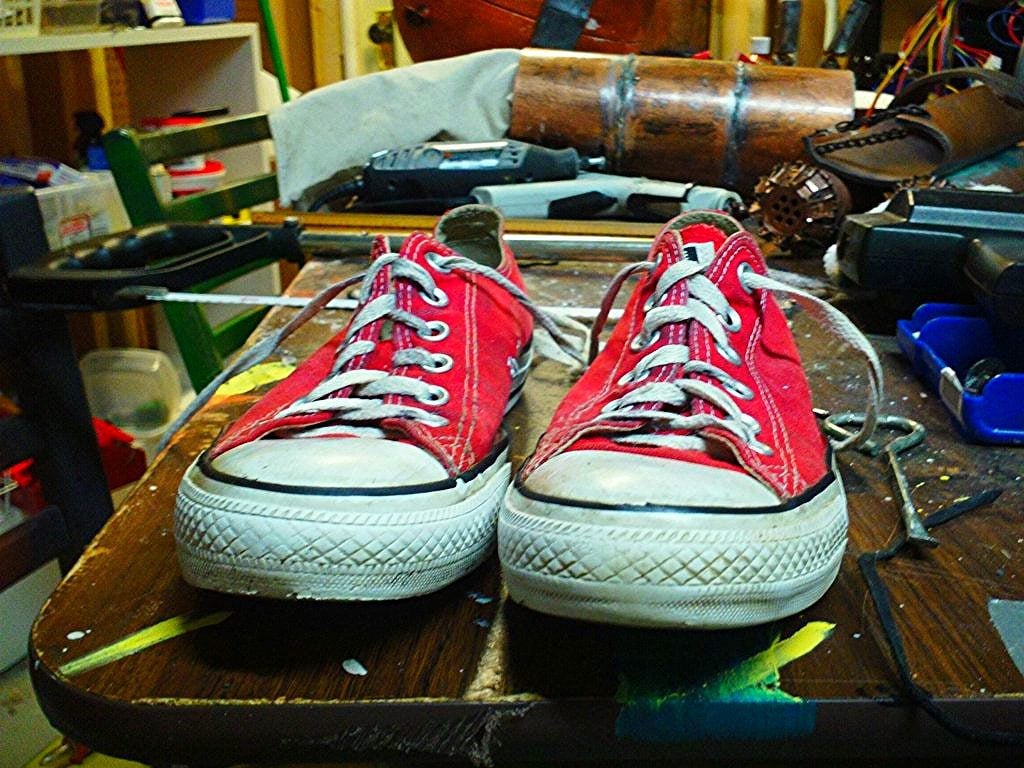
This is how the sneakers look like at the beginning.
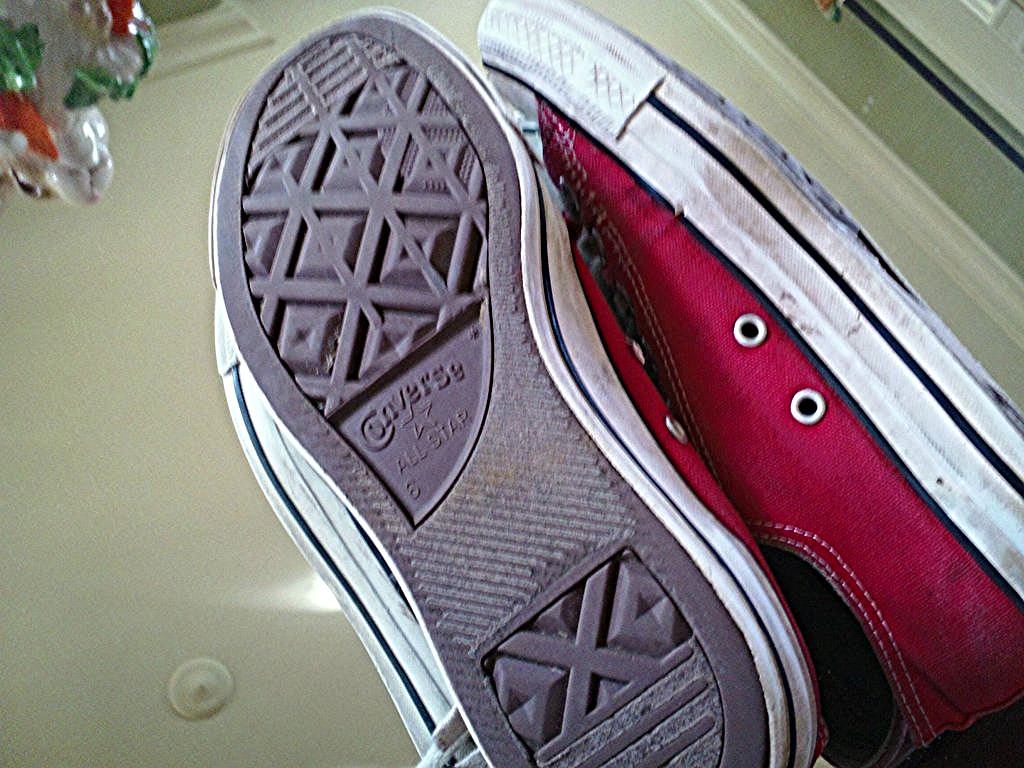
And this is how the pair’s bottoms appear.
Problem: How to make these black spots of doom disappear? (Look below)
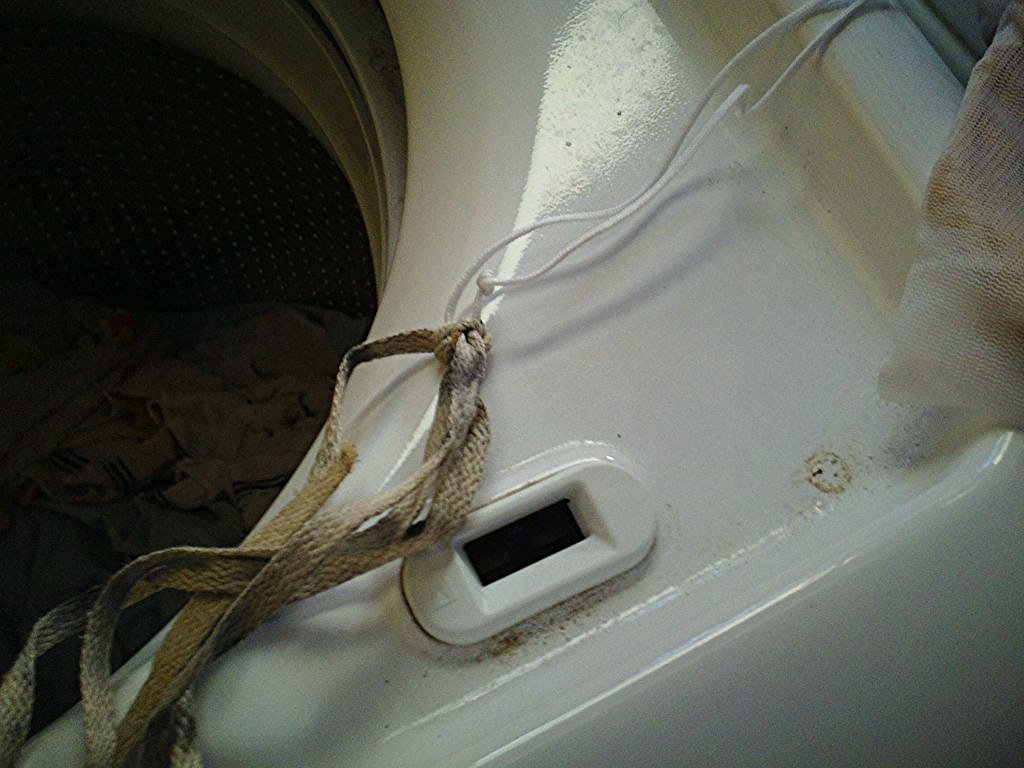
The first thing on my list of tasks is to make those ugly black spots vanish like David Copperfield! So this is what I did: I attached them to a bag and dumped them on my washer like what you see on the following photo.
Next thing I did is clean the rubber. Like so…
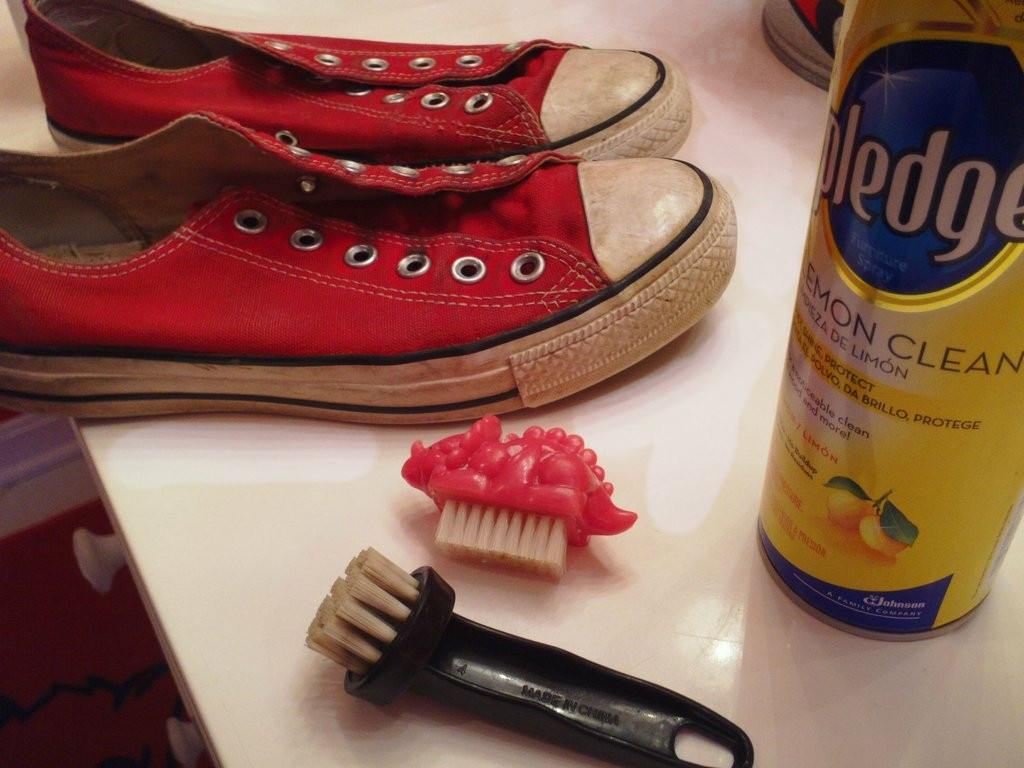
To clean the rubber I enlisted the services of a golf club head cleaner, a weird looking nail cleaning thingamajig, pledge (yes, the one you can get from any supermarket), and not to forget, nail polish. (Look above). Then time for scrub-a-dub-dub!
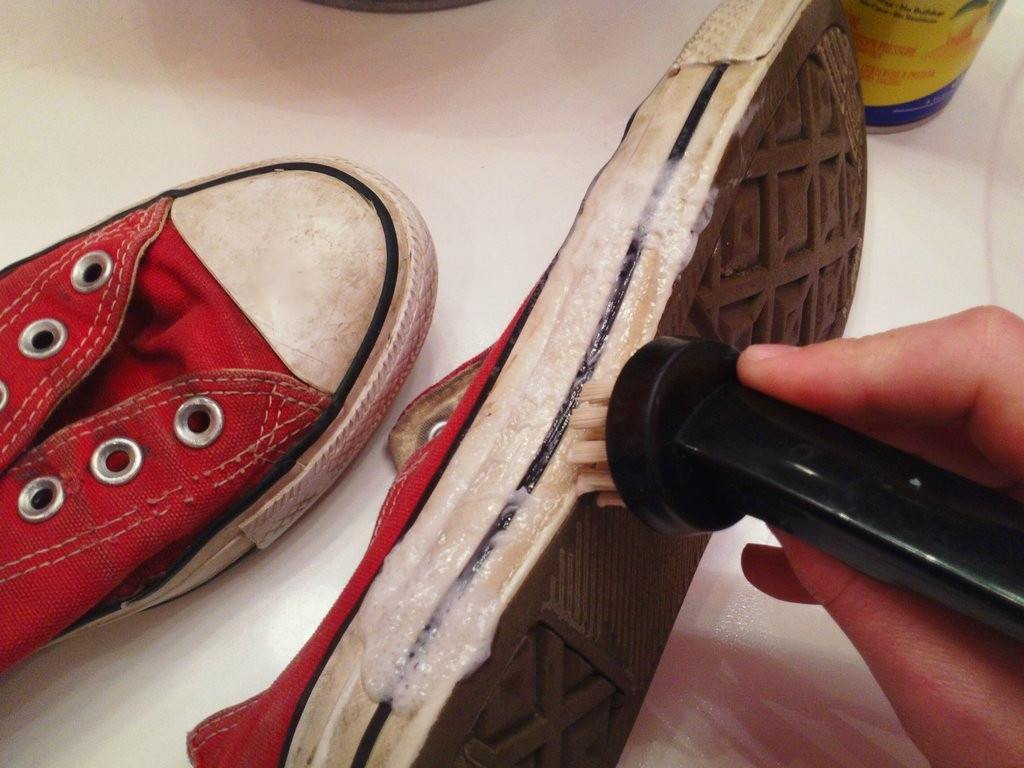
The Pledge have to be applied in this step, and I scrubbed to my heart’s desire using the golf club cleaner. (See the image above)
Next, I’ll show you the typical “after and before” photo (I know it should be “before and after”) the cleaning, but my photos will not coordinate with my text if I do that, so I have to invert the order! (The “after look” is on your left, just to be sure).
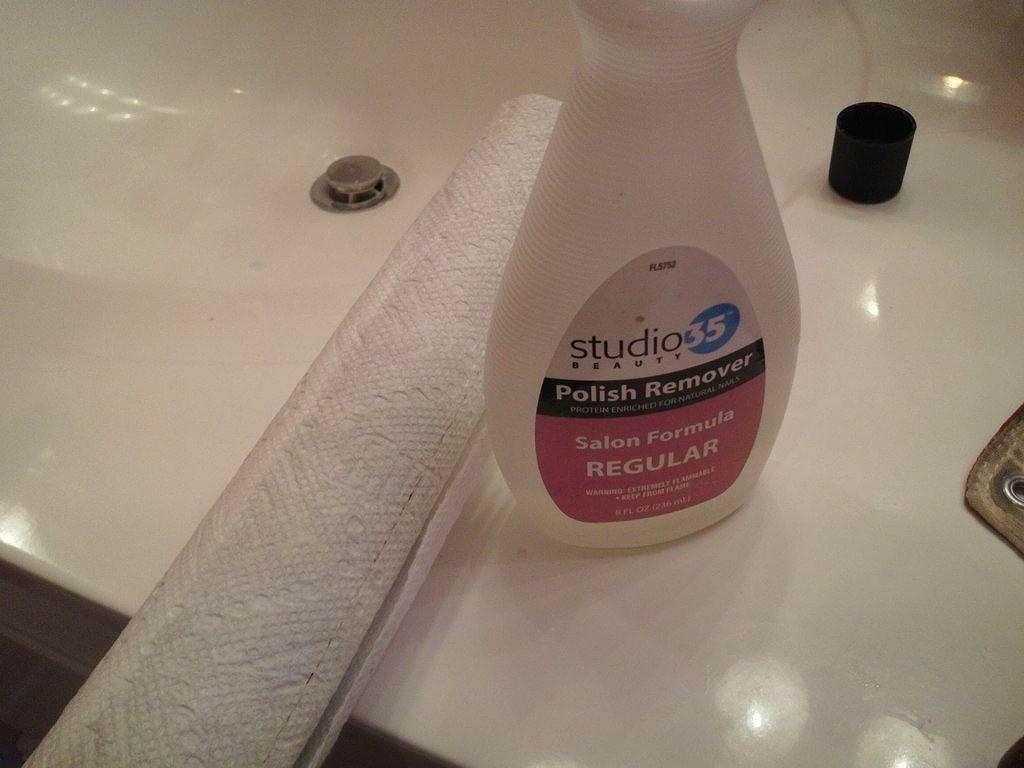
It’s nail polish time!Using paper towels, I wiped off the old layer of rubber.Now, you’ll see the “after and before” nail polish and pledge look of the sneakers.
The “after look” is on your left. (Again, just to be sure!).
Let’s check the tips’ “after and before” look. (Check below).
“After” is on your left.How about the bottoms?
Do I still need to tell you the “after look” is on the left? (Just to make sure–it is on the left–the outer rubber covering is still coming apart on the right shoe).Next step? Drying.
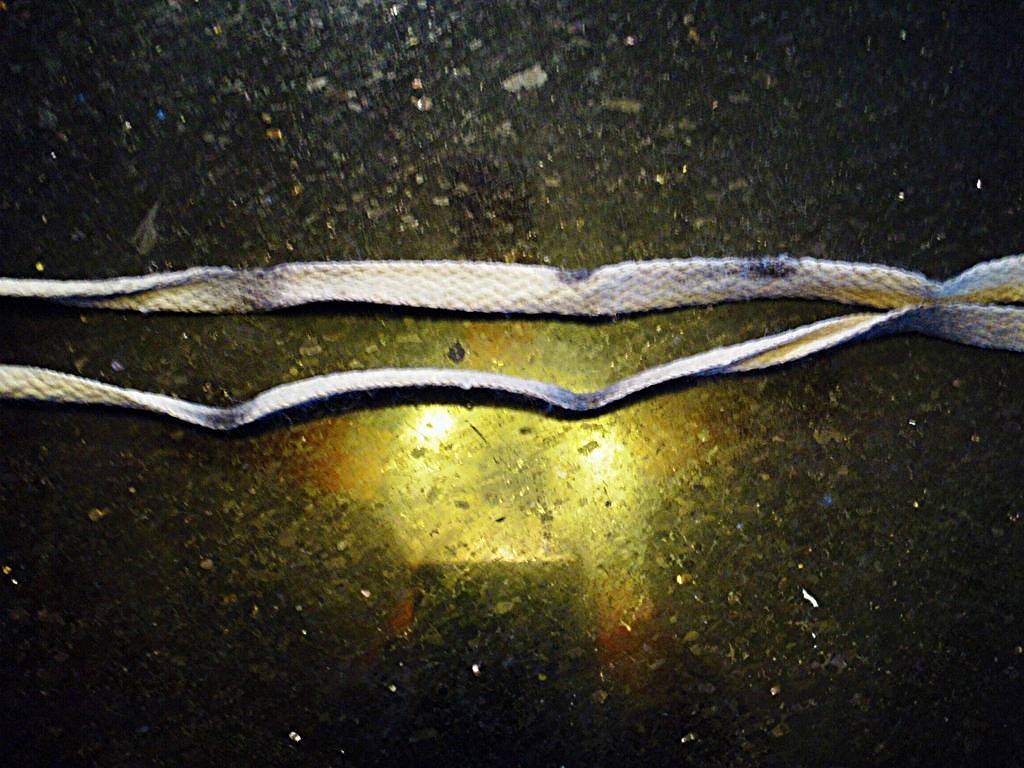
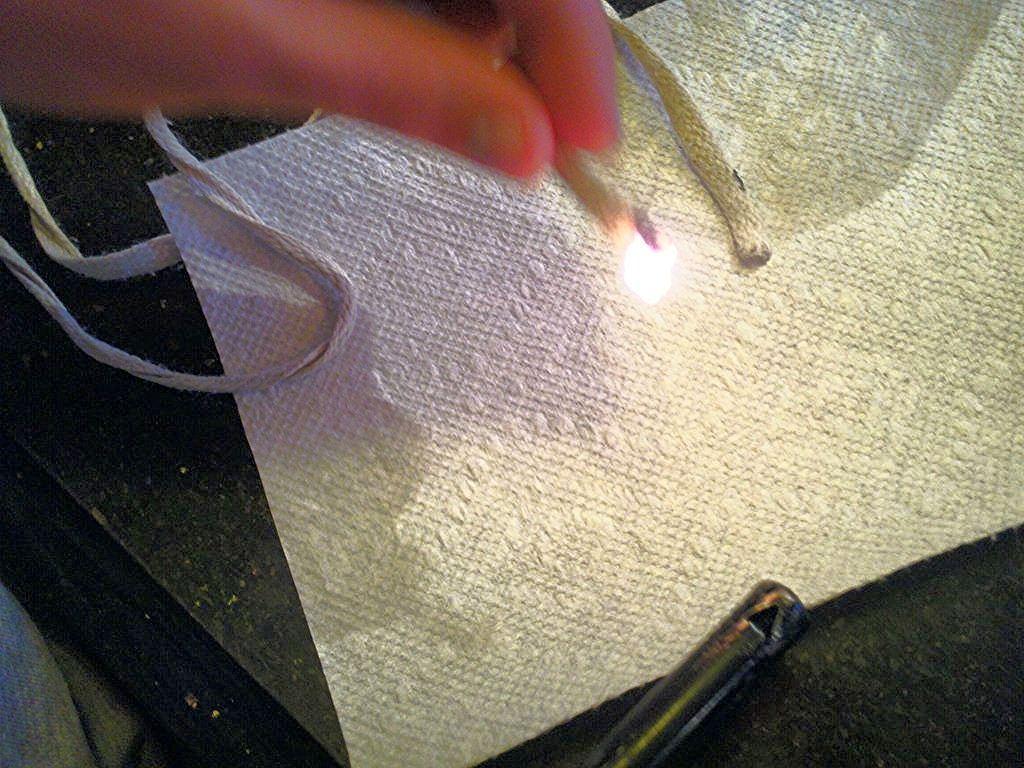
After rinsing the pair with warm water, it’s time to dry them up.Now, it’s time to burn the lace. Don’t get me wrong… we did not destroy them, we restored them.
After their stint on the washer and dried up, I burn the ends to create aglets.Outer covering coming apart? No worries.
The layers of the shoe rubber were coming apart, so I had to re-attached them.To do the job, I used silicon.
Just basic silicon rubber does the trick.Signed, sealed, delivered… It’s done! (Borrowed the words from the lyrics of a Peter Frampton song).
Time to present… (Drum roll please…) Tuh-Duh… The finished product!It’s 20 times better than how it looked before. (Like you need telling).Original Source: How To clean Shoes Like a Pro by CopperFlame via imgur.com.
Featured photo credit: How To clean Shoes Like a Pro/copperflame via imgur.com
