Microsoft Office is one of the most popular office suites out there. It’s used by businesses both large and small. There are versions for college students and for home use. It’s available for both PC and Mac and word around the internet grapevine is that it’ll eventually be made available for some distributions of Linux. Even though most people use it, most people do not use it to its full potential. Here are 11 awesome tips to make you better at Microsoft Word.
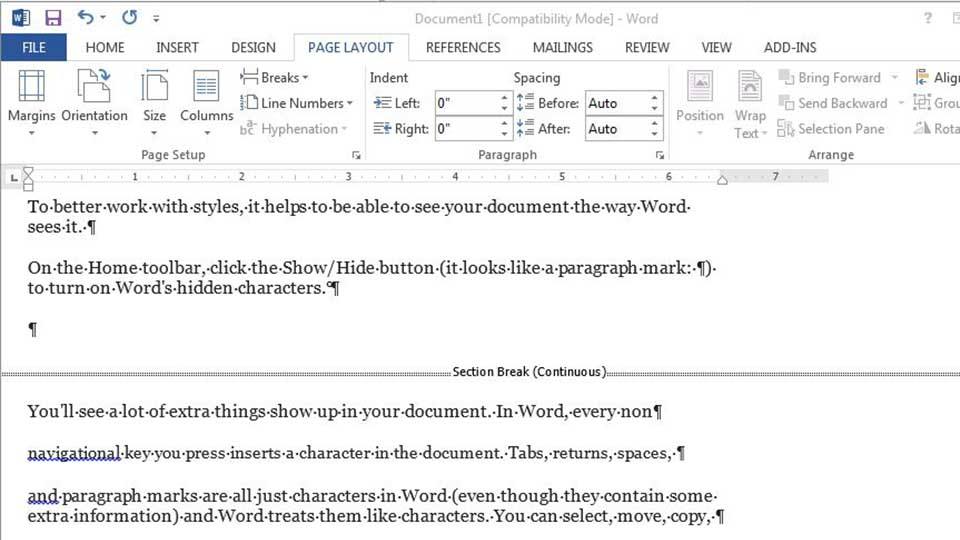
1. See all of the symbols in Microsoft Word
When you type spaces and hit the enter button, you don’t see all that much but that doesn’t mean there isn’t anything there. There are actually symbols and characters all over your Microsoft Word document and you may not even know it. If you want to see all of them, Go to File, then Options, then Display, and select to Always Show These Formatting Marks on the Screen. You can also activate Draft Mode to see what the first doesn’t by going to the View menu and setting it to Draft View.
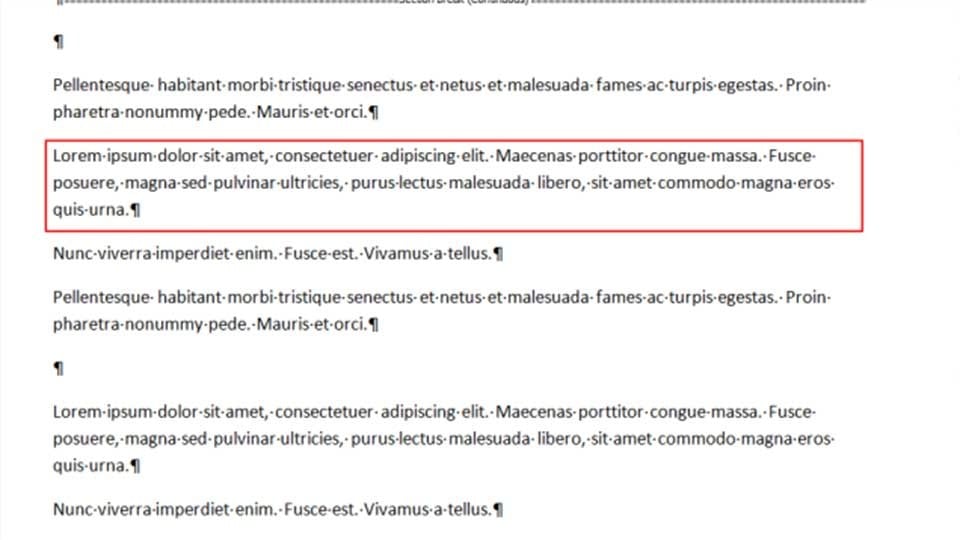
2. Master the paragraph
You would be surprised just how many ways you can format a paragraph. You can indent the first sentence or you can indent every other line except the first line. What’s more, the paragraph mark (shown above) is actually fairly powerful. It contains information on how each paragraph is formatted which can make them pretty powerful. If you copy a whole paragraph with the paragraph mark, you end up copying the formatting too. If you don’t copy the mark with the paragraph, the paragraph will paste without formatting.
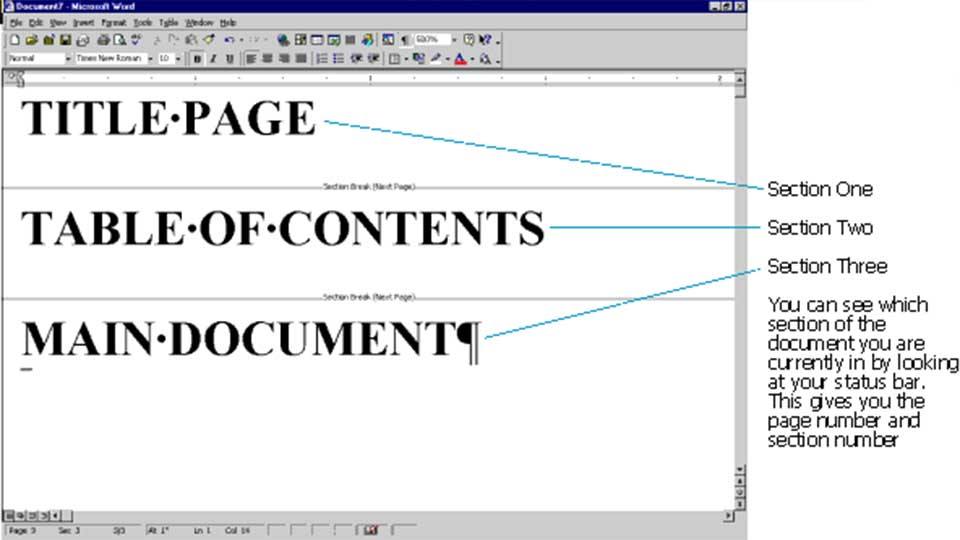
3. Master sections
By using the various breaks in Microsoft Word, you can better organize your documents. The best way to do this is through the use of sections. You can access the breaks menu on the Page Layout menu. Microsoft Office doesn’t see pages as you and I see them. They see sections. If you set your document up in sections, you can format each section independently and give yourself far more control than you normally would if everything were in one section!
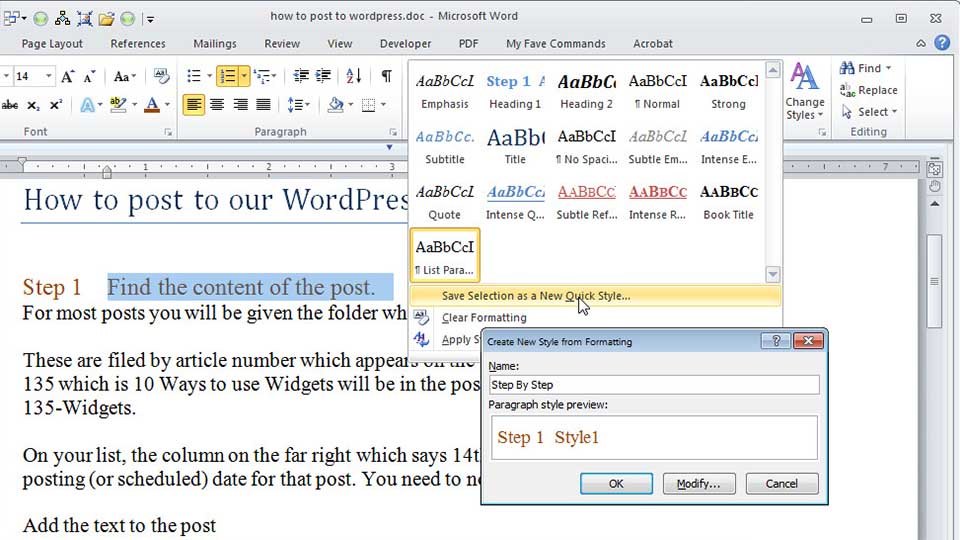
4. Use styles
Styles are amazingly powerful. If you create a style template, you can use it over and over again for any document. If you write a lot of memos, you can create a memo style. You can repeat the process for virtually any document type. To see existing styles, to to the Home tab in Word. You can click on the down arrow to create your own. If you write a lot in a similar style, it’s definitely worth turning it into a style so you don’t have to format so much and save yourself some time.
5. Prepare your document before writing
It’s always a good idea to get an idea of your formatting before you actually start filling in the blanks. That way you can format your headers, paragraphs, styles, etc all before you put your document together. Doing so can allow you to alter your document before you make it to make sure that everything fits appropriately. There’s nothing more frustrating than copying and pasting some information and having the formatting be all wrong.
6. Configure your paste options
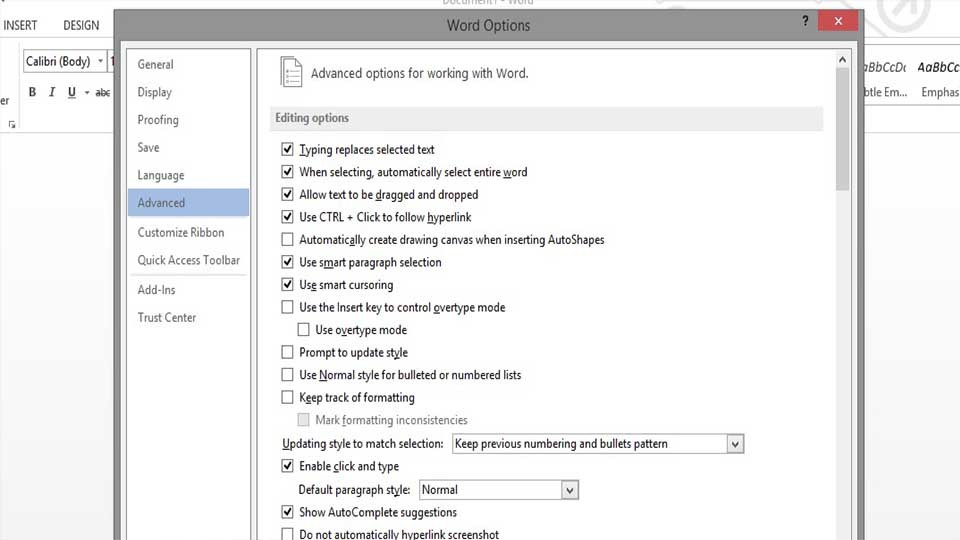
Believe it or not, you can actually control how Microsoft Office deals with pasting words. This can be attained by clicking on the Office button (the logo at the top left), navigating to Word Options, and then to Advanced. From there you should be able to see a Cut, Copy, and Paste option that will let you configure your options. This can allow you to do things like disable hyperlinking when pasting and other formatting options to make life easier.
7. Use full justification formatting
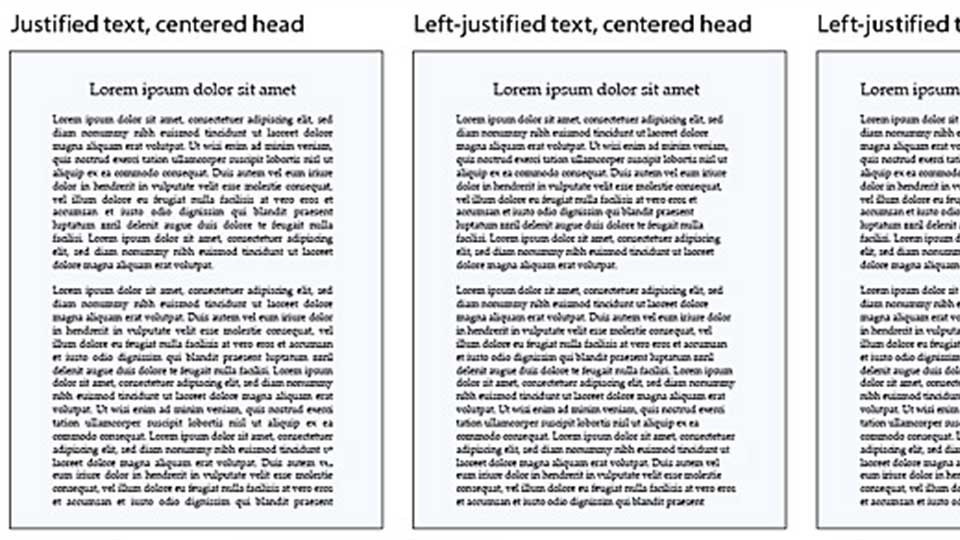
An often unknown option in Word is the ability to use justification formatting. You can see an example of this above. Essentially, it just means that the left and right margins are perfectly aligned. Word is able to do this by altering the spacing of words in each line so that they line up. This gives documents a professional and formal look. To use this, click the Office logo, then Word Options, and then Advanced. Expand the Layout Options and you can set it there.
8. Hide the ribbon interface
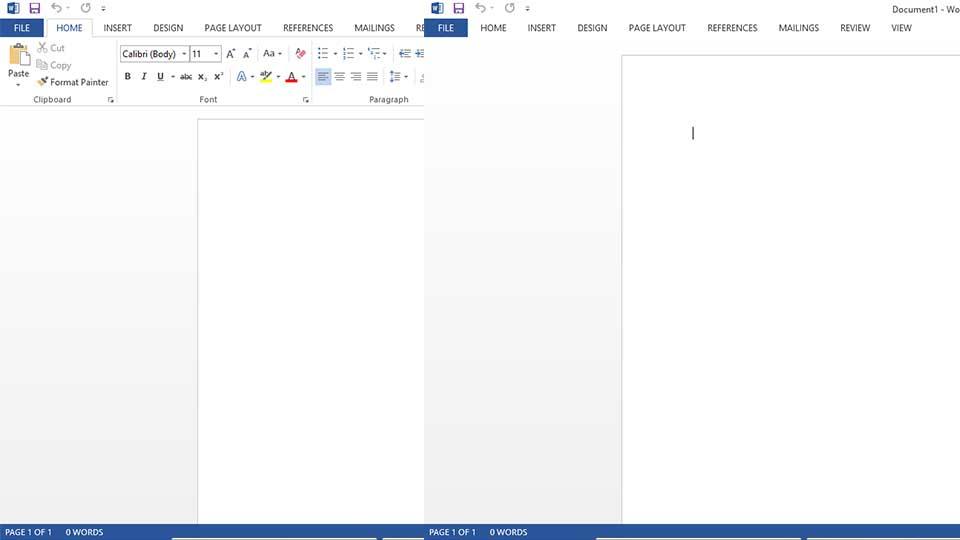
For those who may not know, the ribbon interface is the toolbar that runs along the top of Microsoft Word. Some people enjoy it and others find it distracting and too busy. Thankfully, there is an easy way to get rid of the ribbon. With Word open, click CTRL+F1. The ribbon will disappear. Repeat the process to make it reappear.
10. Remove all formatting
Sometimes you need to blow up the formatting and start over. Formatting can get disorganized and your document can end up looking bad. When this happens it’s probably best to start over from the beginning. To do this, select any bit of text you want to remove the formatting from and click the button as shown in the screenshot above. The formatting will be removed and you will be left with just text.
11. Use the Spike to copy and paste
Spike pasting is actually a lot of fun. Here’s the premise. You cut various words from a document and then you can paste them all together. There isn’t really a specific use-case for this tool but you’ll know when you need it. To use it, use CTRL+F3 to copy. You can do this as many times as you like. When you paste as usual, it’ll paste everything that you copied using the CTRL+F3 command. This can be useful for collecting snippets of a document and putting them together.
With these tricks and a little practice, you’ll be able to create amazing documents that’ll look professional and clean. In a word place where just knowing how to use Word isn’t enough anymore, these tips can give you a slight edge that’ll make you stand out!
Featured photo credit: New Horizons via newhorizons.com

