Deploy these simple & smart techniques to improve your workout.
As you go about your workout program, one thing that you must be paying attention to at all times is the form that you’re using. If you aren’t using proper form, you aren’t going to see the results you’re after; this is because you won’t be stressing the muscles in the way an exercise is supposed to be performed.
Worse yet, many people who use improper form are going to be set themselves up for injuries, which is yet another reason why maintaining perfect form is a must. All it takes is moving out of alignment just slightly for severe pain to become a problem.
To help you make sure you are using nothing but the best of form, let’s go over a few common mistakes that you should be avoiding as you perform these popular workouts.
1. Foot Placement During The Squat
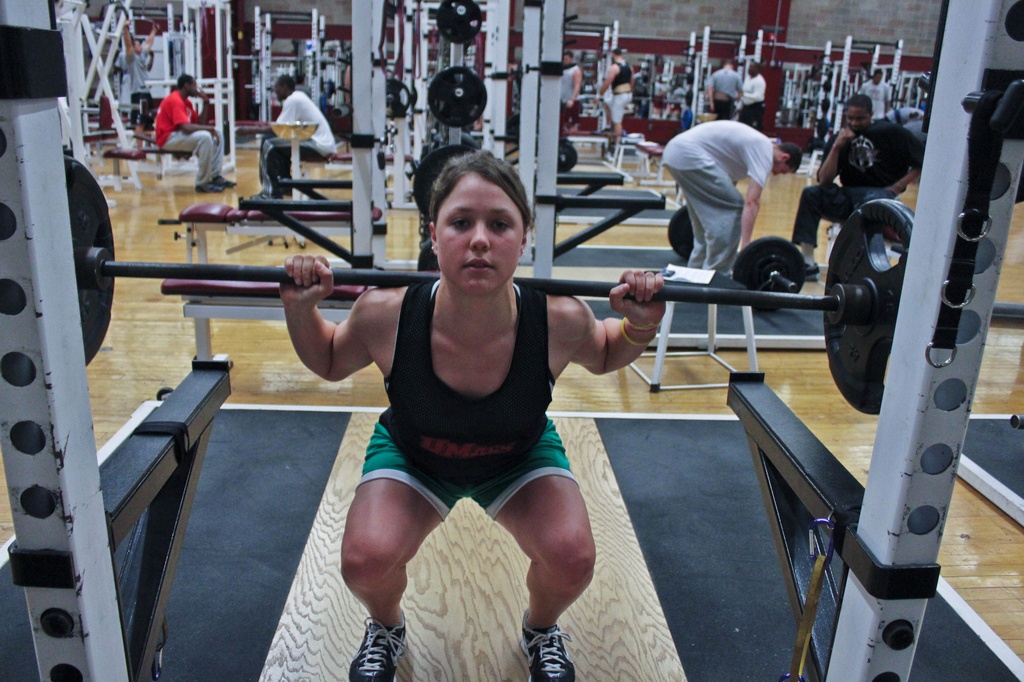
The very first thing that you need to be thinking about when performing a squat exercise is your foot placement. The standard squat will have your toes pointing forward, which is great for targeting the quads and hamstrings.
It’s important as you move through the exercise that your knees align directly over the toes.
If you let your toes move inward at all, it will instantly put far more stress on the knee joint and potentially cause you to risk serious knee pain.
Alternatively, one quick and easy way to change around this exercise is to have your feet facing slightly outward.
This will help target the inner and outer thighs to a slightly larger extent as well, which will then add more variety to your workout program and help to beat a progress plateau.
Adding this one simple change from time to time can be an effective way to improve your squat.
2. Back Placement During The Shoulder Press
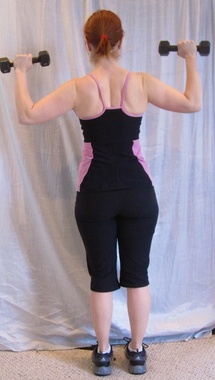
The second form issue to be aware of is your back placement when doing the shoulder press. Many people either accidentally or unconsciously start to develop a sway-back as they perform this exercise, which is then going to cause a high amount of stress on the lower back vertebra.
With all that weight overhead coming down directly on that lower back, you can quickly imagine the tension that could develop.
By thinking of squeezing the glutes as well as the abs as you perform this exercise, you will help to maintain far better back alignment. By keeping good back position, you can also help to increase the total amount of weight that you drive upwards, making the exercise more effective.
The same rules should be applied when doing lateral raises as well as bicep curls, as those are two other exercises that do cause some people to move out of proper back alignment.
3. Bench Height During The Step Up
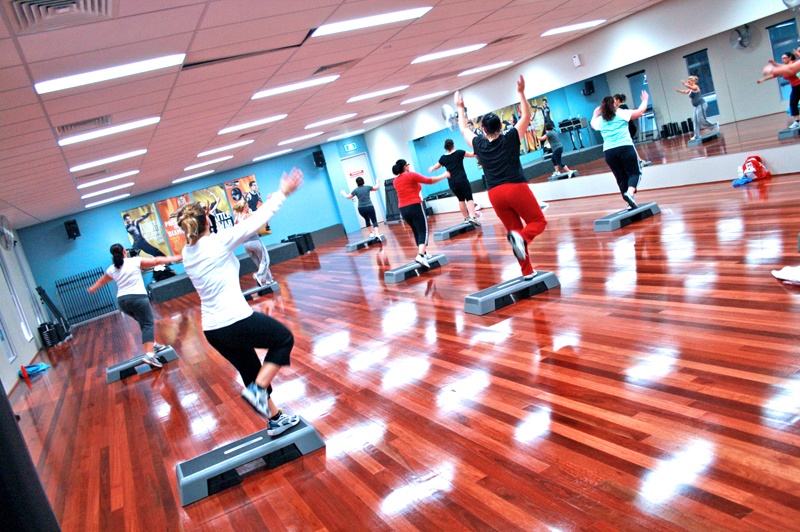
The next form check that you’ll want to do for yourself is to think about the height of the bench you use during the step-up. If you use a lower bench while doing the step-up, then you’ll be targeting the quads to a larger extent, while if you use a higher bench while doing the movement, you’ll hit the hamstrings.
The quads will definitely still get activated regardless of whatever step height you utilize, but with the higher the step, the more hamstring activation will be required simply to perform the exercise.
The same principle also applies when doing the split squat.
With the step up, the further you step away from the bench, the more hamstring dominant the exercise becomes over just working the quads.
Both muscles will be worked regardless of what height the step is or how far away from the bench you’re targeting, but it’s the nature of the stress that’s going to differ.
With this one simple change in how you perform the exercise, you can really change the nature of the stress on the muscle tissues. It’s another excellent way to change up your workout from time to time and ensure that you don’t hit a progress plateau.
4. Hand Position During The Push-Up
Finally, the last of the form checks to look at while going about your workout is with regards to the hand position that you use during the push-up exercise.
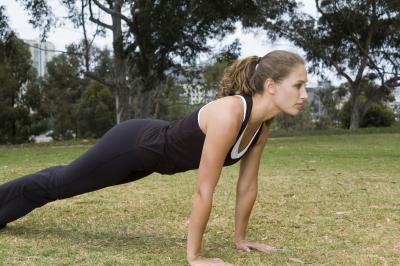
Many people just start off into normal style push-ups, without thinking about the fact that how they position their hands will influence the type of results they get from that push-up.
If you use a wider than normal hand placement position, you’re going to be targeting the outer chest muscles to a larger degree and may also get a bit of upper back activation as well.
On the other hand, if you place the hands close together, forming a triangle almost with their positioning, then you’re going to be targeting the triceps to a much higher extent instead.
You’ll instantly feel the difference in stress loading patterns when making this switch, so don’t be surprised if you do find that you are much weaker when in the triangle hand position.
The chest muscles will be much less dominant, which are the primary force developers in the push-up exercise, which is why you feel so much weaker overall when performing it.
With the push-up, you can also use a staggered hand placement approach where one hand is placed higher or lower than the other and you perform the push-up from there. This will get the core activated more as well, really giving a unique twist to the push-up exercise overall.
So there you have some important form placement hacks to consider as you go about your workout. By having a look at these tehniques, you can both reduce your chances of suffering from an injury as well as increase the results that you get from your time invested in the gym.
Small changes do make a difference, so don’t overlook them.

