Andy Warhol once said, “The best thing about a picture is that it never changes, even when the people and things in it do.” And so we capture those images because we then have a memory forever.
For some of us, with the latest technology, photos taken on our iPhones or tablets are enough, because we simply want to keep images of our friends and family or vacations spots – quality is not a big factor.
If, however, you are one of a growing number who have decided to do more with photography, the first steps involve studying composition and experimenting a bit. Here are 10 simple, yet powerful, tips to get you in the groove of taking better shots!
1. Don’t worry about acquiring expensive gear; focus on the learning first.
You need to read, study great photographs and experiment with various techniques that professional photographers talk about. One of the keys to better composition is to avoid putting the primary focus of your picture in the center.
On most digital and iPhone cameras, you will find 2 parallel horizontal lines and 2 vertical parallel lines. They divide the picture into 9 segments.
When you focus your camera on the primary image, don’t put it in the center – move it into one of the other segments. This simple technique will let you frame more intriguing captures.
2. Shoot during the Golden Hour
Professional photographers claim that many of their best pictures of scenes, from urban to rural, beaches to deserts, are taken shortly after dawn and just before sunset.
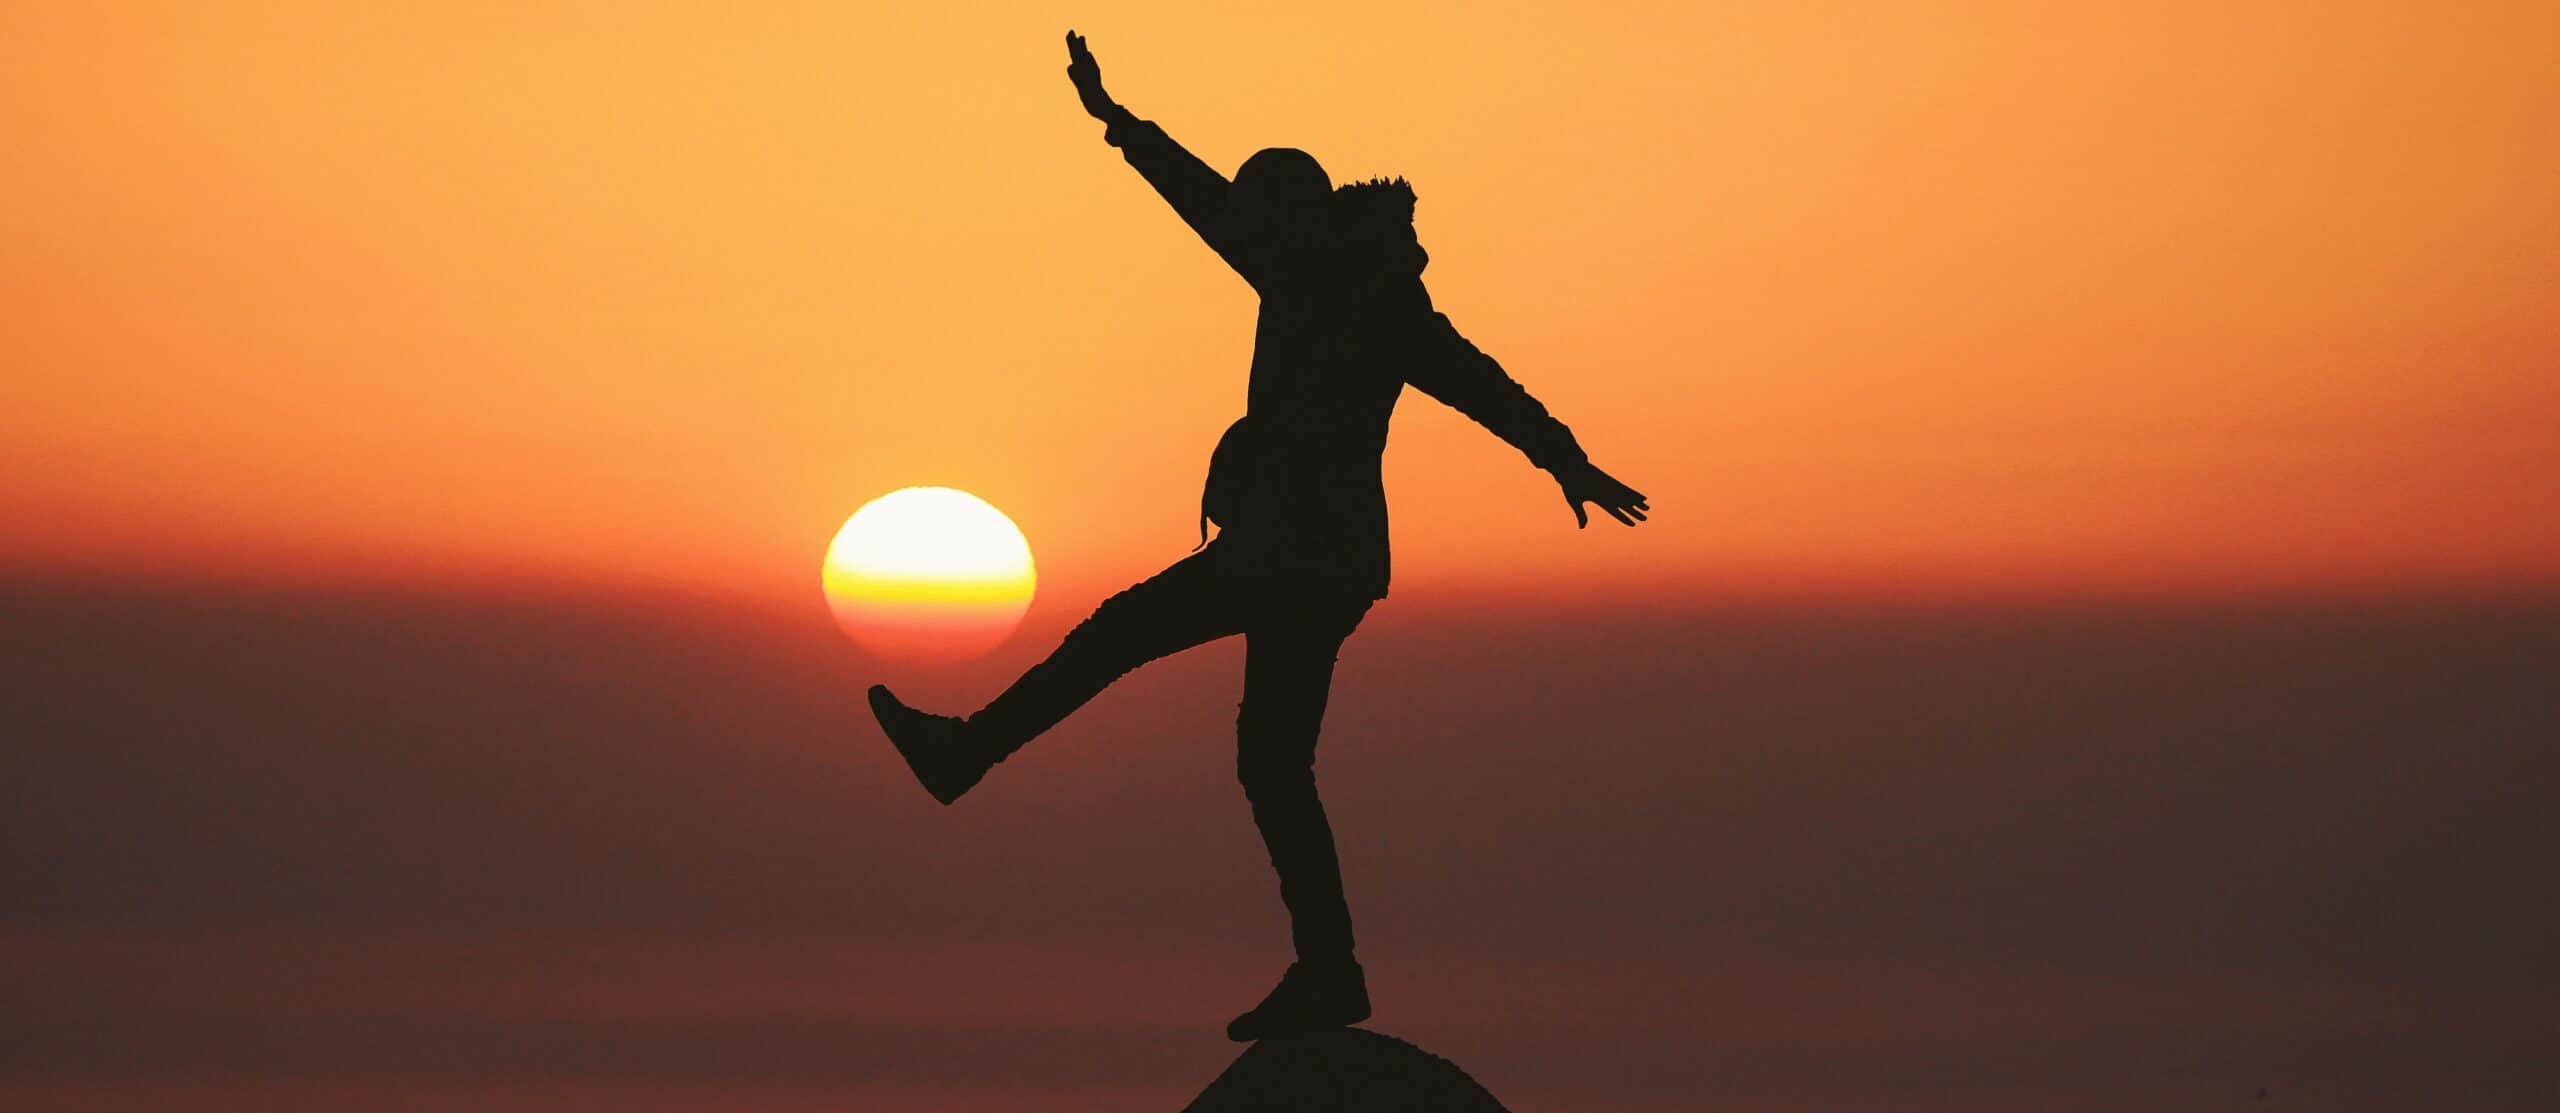
The lighting is the key in this technique. At these times, streams of light do amazing things to buildings, fields, trees, water-scapes, and mountains. Catch those streams with the amazing hues of the sky in the background to get impressive pictures even with simple composition.
3. Use ugly things as subjects
Diane Arbus, whose life was cut tragically short, managed to become a top photography artist. Though much of her income came from photo shoots for magazines, she was always drawn to the “ugly” side of life for her personal photographic gratification.
Try Diane’s idea and learn to shoot aesthetically unappealing objects like a bunch of dirty plastic cups, litter etc. If you learn how to make even those things look pretty on pictures, you can make anything look beautiful!
4. Deliberately limit yourself
When you restrict your gear, you restrict your ability to add lots of variety. Suppose that you left your camera and all of your lenses at home and used only your iPhone.
This would force you to be far more careful about your composition and angle. Suppose you limited yourself just to city buildings for a week? Or how about a limitation that you can only shoot children on a playground? How would that change your technique and your composition?
These kinds of restrictions force you to look for the unique shots, and that is a skill that will transfer over when you are not limited.
5. Take an art class
Whether its drawing, watercolors, or oils, you need to learn perspective, shading, contrasts, and actually put yourself into a still life, a landscape, or a city street.
Through such a class, you will come to understand the importance of composition and that will transfer over to your photography. Your technique can be great, but it’s the composition that makes certain pictures magnetizing!
6. Use a traditional film camera
When you are limited to one film with a set number of shots, you will learn to become far more selective. You’ll take time to study your subjects more carefully and will shoot from distances and angles that make sense to you. Forcing yourself to “budget” your shots will increase your sense of discernment.
7. Study the work of other photographers
Don’t limit yourself to one venue of photography, but instead make it a goal to “spend time” with a variety of artists – those who photograph only in black and white, who shoot only urban life or pastoral scenes, those who are war photographers and those who shoot single, simple images.
You can learn from them all. Study the famous black and white photo of the small Vietnamese child covered with napalm and contrast it with a color photo of a woman holding her newborn for the first time. What are the messages in these two shots? What technique is used? What makes them both so alluring?
8. Move your own positions as you shoot
Don’t photograph everything at eye level. Bend to the side, get on a step stool, and lie down on the ground. These are especially great techniques when capturing people or pets from various angles.
If you have a dog, and that dog is on your couch, don’t shoot down at it – get below your pet and shoot upwards. A Christmas tree, shot from the floor up, looks way more amazing!
9. Experiment with new techniques
You have probably seen hundreds of photographs that are deliberately blurry or that blur out backgrounds or foregrounds. It’s called bokeh and it is a highly effective style when a photographer wants to focus on a single image.
If, for example, you are shooting a bride and groom outside by a tree, you want to focus on them and the tree. The rest of the landscape should be blurred. If, on the other hand, you want to shoot the Eiffel Tower from a distance, you will want to blur out the foreground, so that your subject becomes the focal point.
10. Don’t be quick to delete photos you may not like right now
You may have taken pictures while experimenting that you really think were “fails.” Here’s the thing about that. As you grow in your mastery, you may re-think some of those images; you may decide that part of a photograph is absolutely screaming at you; you can use technology to alter the picture and end up with a stunning photo after all.
Featured photo credit: Sara Kurfeß via unsplash.com


