One reason many iPhone users are fearful of switching to an Android device is that they don’t know what will become of all of the music they purchased and stored on iTunes. Luckily, there are a number of ways for you to transfer your music files from iTunes to your new Android smartphone, and I’ll go over several of them below.
1. Drag And Drop
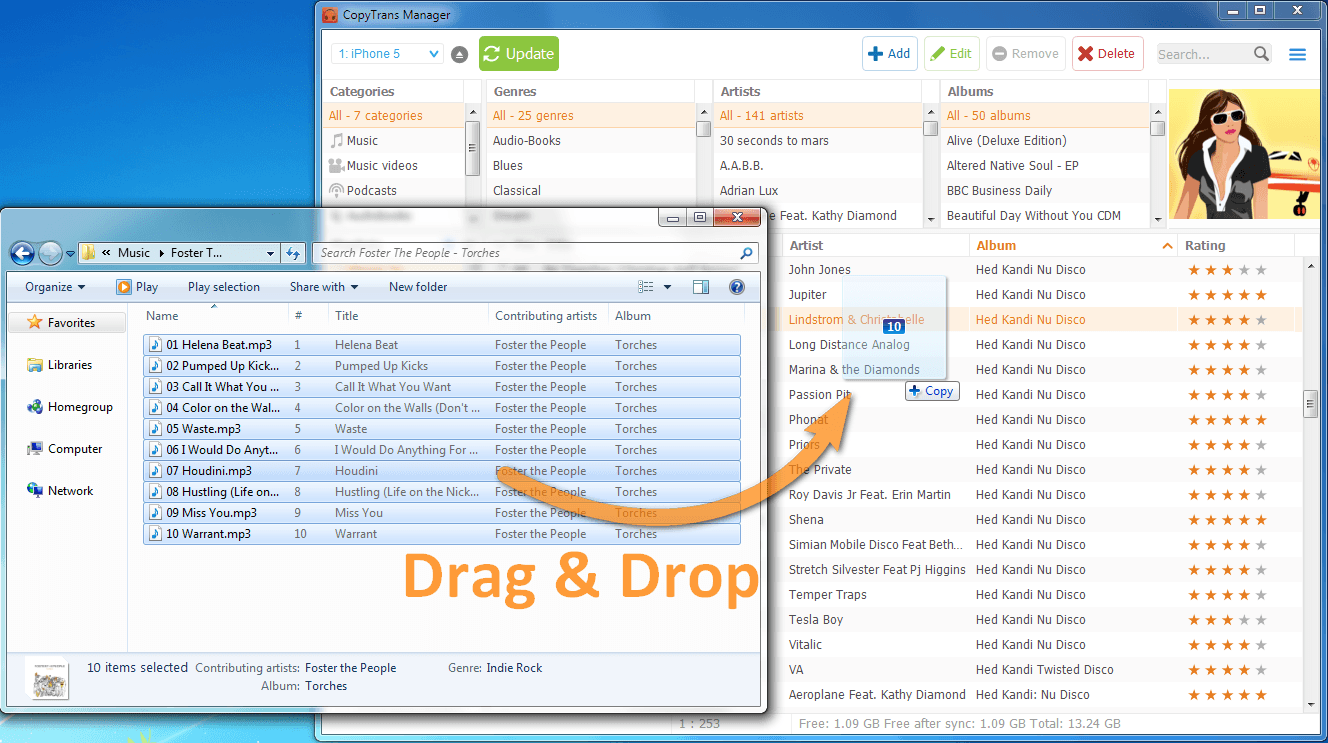
This is the simplest way to go about things, in my opinion. All you need to do is go to the music directory on your Mac or PC. There, you will find a folder labeled “iTunes.” Simply click “iTunes,” then “iTunes Media,” then “music,” and you will find all of the music you have stored or purchased on iTunes.
From here, it is a simple process. First, plug your Android device into your computer using a micro USB cable and open its file directory (to do this on a Mac, you must first install the Android File Transfer App or your phone won’t be detected). Then, select the music files in your iTunes folder. From here, all you have to do is drag and drop these files into your smartphone’s music folder, and you will have access to them on your mobile device.
For more advanced users:
Here’s a slightly different version of this method that some of you may prefer. First, create a new folder on your desktop named “music.” Then, navigate to your iTunes folder, select your music, and drop it into your newly minted “music” folder.
Now, plug in your Android device and wait for your computer to recognize it (again, to do this on a Mac, you must first install the Android File Transfer App). Once that is done, open up your phone’s file directory. There should be a folder there named “music,” and it will probably be empty. Here’s the fun part: drag the new folder on your desktop named “music” straight into your Android phone’s file directory. Voila! All of your iTunes music is now on your Android device, and can be played right then and there on any music app you have.
2. Let Google Play Do It For You
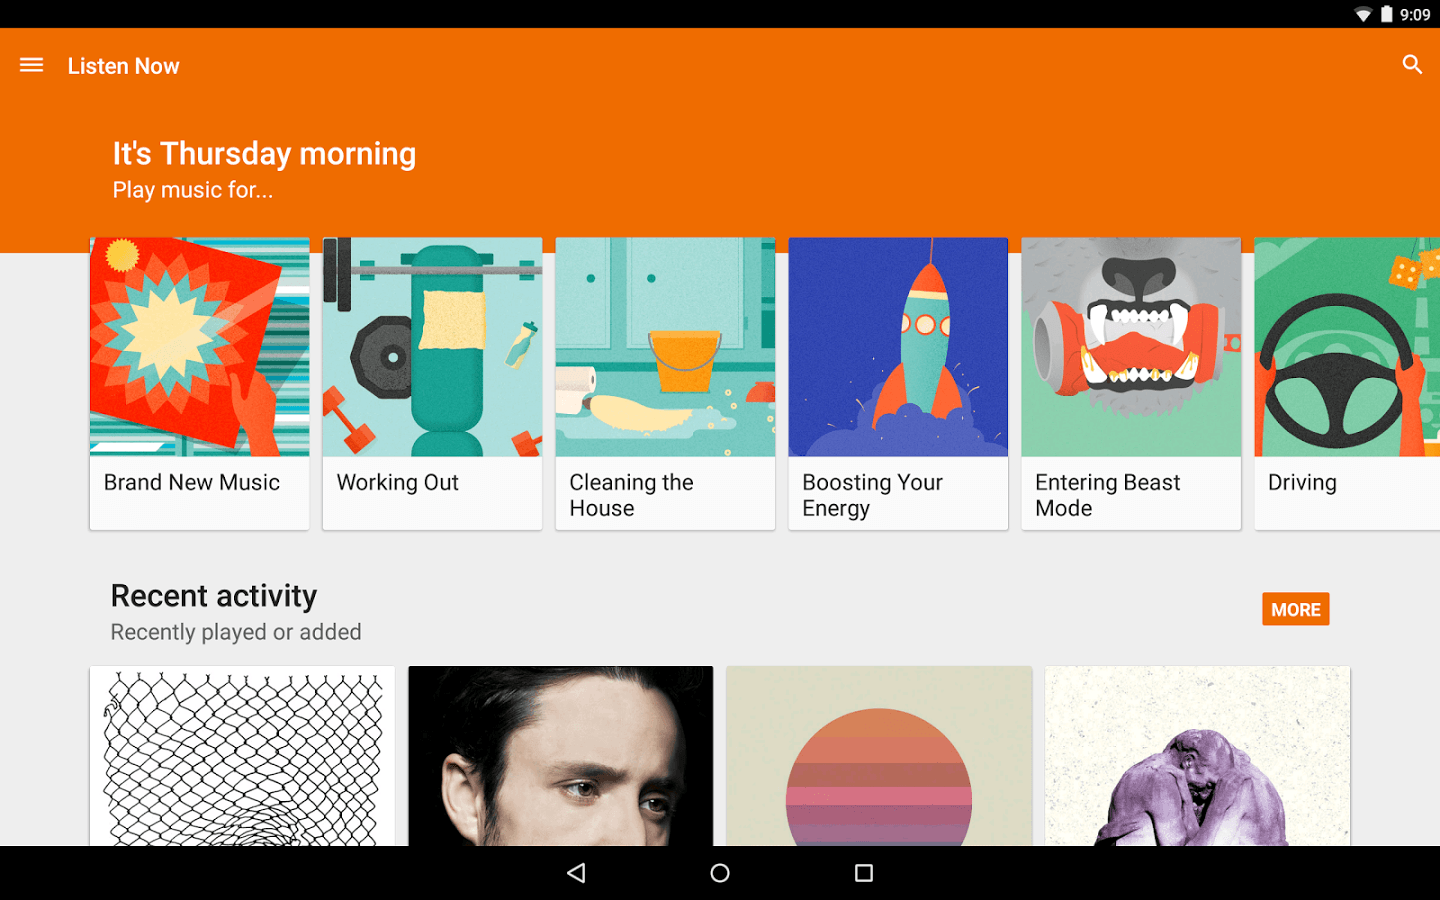
Google created a wireless file transfer service that allows iPhone users to easily move their music to Android devices. All you have to do is download Google Play Music Manager. Sign in with the same account you use for your Android device, and follow the instructions. It will ask you where you want to transfer your music files from, and iTunes will be one of the options.
Select that, and the Music Manager does all of the grunt work for you. What it does first is it analyzes the songs you have in iTunes. Then, it searches its cloud directory to see if it has access to that song.
If it does, it allows you to stream that song on your Android phone through the Google Play Music app. If you want to download those songs permanently (as opposed to keeping them in Google’s cloud), all you have to do is find your transferred albums, hit “options,” and select “keep on device,” which downloads your music to your smartphone’s local memory.
If Google Play Music is the only app you use for music playback on your Android, then this is probably the quickest and easiest way to transfer your songs from iTunes.
3. Use AirDroid File Sync
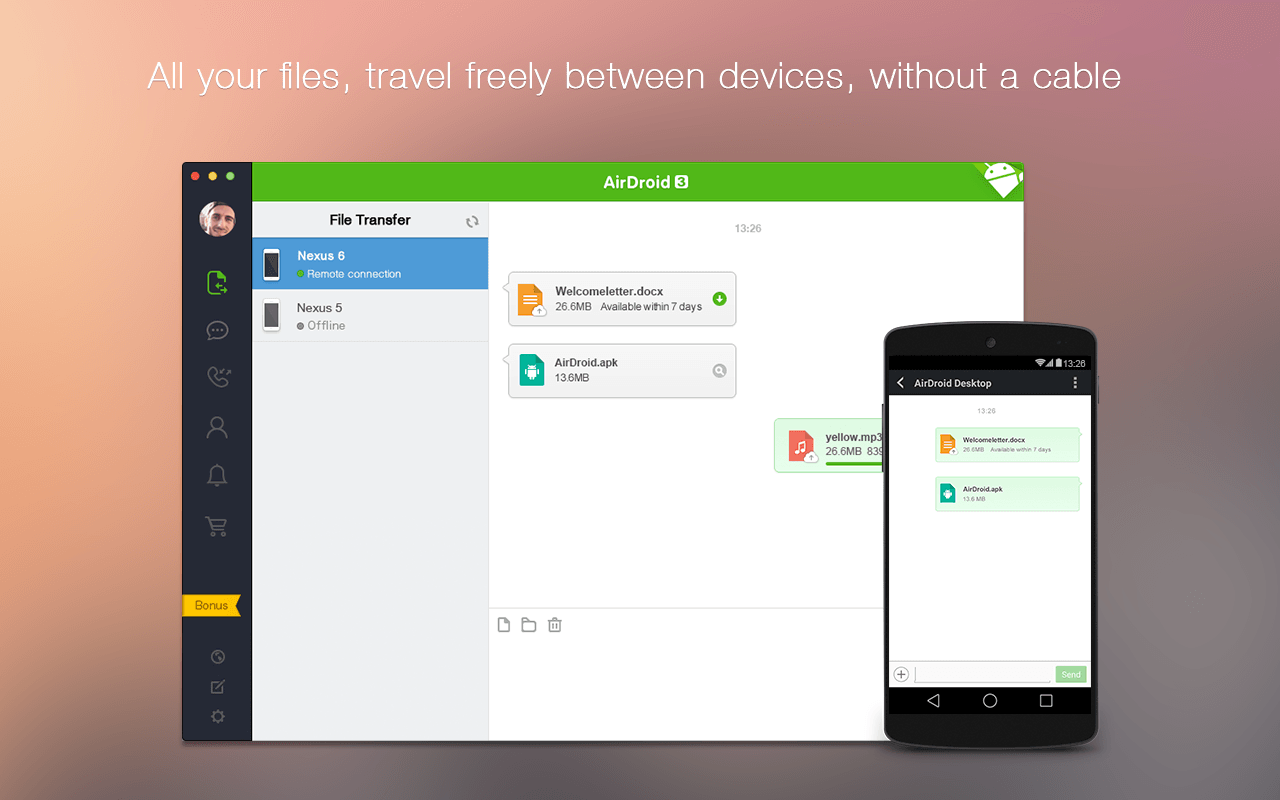
If you only need to transfer a few albums, this is the perfect option for you. All you need to do is download the AirDroid program on your computer, and the AirDroid app on your phone.
Then, simply select the music you wish to transfer within the AirDroid program, and wait for it to upload. Next, open the AirDroid app on your phone, and download the very same songs you just uploaded from your computer.
If you are uploading large music files, there is a chance you might hit the file size limit for the free version of AirDroid. Luckily, you can unlock the premium version with a cost effective $1.99/month subscription (I would say this price is worth it if you transfer many large music files on a daily basis).
Once you have downloaded the music to your phone, any music app you have should be able to find your collection and play it.
Conclusions
There are a couple of other ways to transfer your music from iTunes to Android, but they are often too complicated for their own good. The above methods are, simple, efficient, and effective, and should get your new Android smartphone or tablet up, running, and playing your favorite music in no time. With that said, enjoy your new device! If you have any questions, feel free to ask them in the comments below and I’d be happy to try and help.

